Step-by-Step Guide to Building Your Own PC
- What are the key parts needed to build a PC?
- What should be done before assembling the PC?
- How should the CPU and memory be installed correctly?
- What is the correct way to install storage and the GPU?
- How to test if the PC is assembled correctly?
Building a personal computer has become a popular choice for tech enthusiasts who want control over their system’s performance, whether for gaming, video editing, or professional tasks. A custom-built PC allows users to select components tailored to their needs, ensuring better efficiency and longevity. This guide provides a simplified yet comprehensive approach to assembling a PC from scratch.
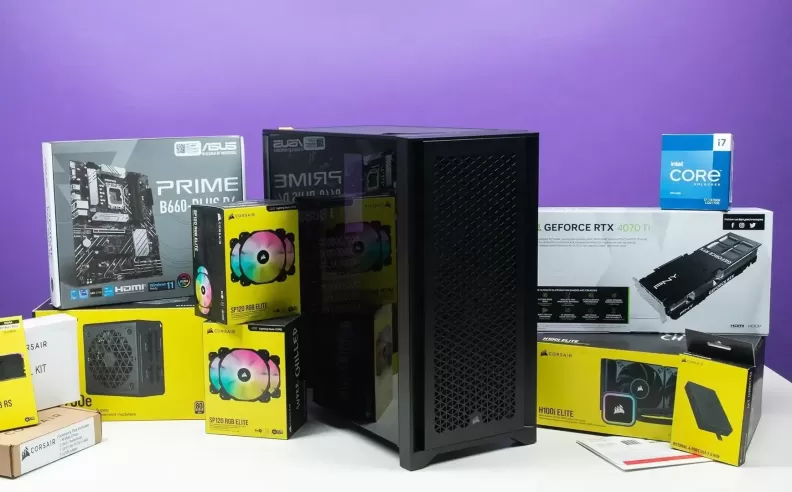
Selecting the Essential Components
Before starting, selecting the right components is crucial for building a stable and high-performance computer. These include:
- Processor (CPU): The core of the system responsible for handling computations and tasks.
- Motherboard: Connects all components and must be compatible with the CPU and RAM.
- Memory (RAM): Affects system speed; higher capacity allows better multitasking.
- Storage (SSD or HDD): SSDs offer faster performance, while HDDs provide larger, cost-effective storage.
- Graphics Card (GPU): Essential for gaming and video editing; some CPUs come with integrated graphics for basic tasks.
- Power Supply Unit (PSU): Supplies power to all components; must provide sufficient wattage for a stable system.
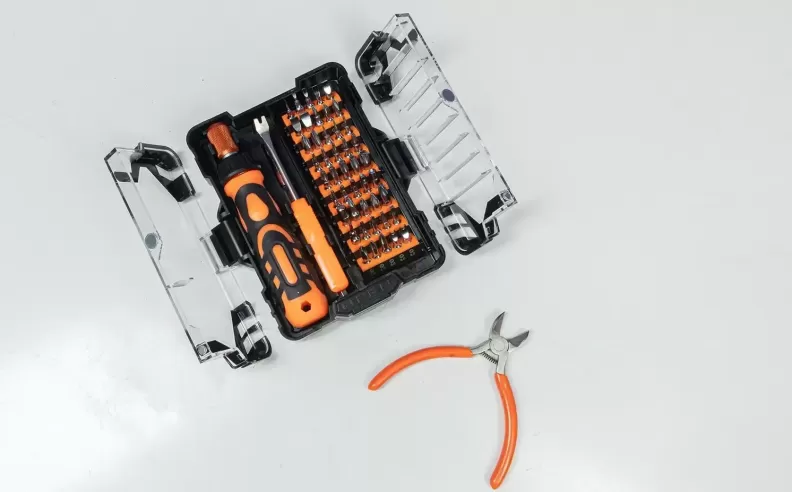
Preparing the Workspace Before Assembly
Setting up a clean and static-free workspace is essential for preventing damage to sensitive components. Steps include:
- Choosing a clutter-free, non-static surface to work on.
- Having essential tools ready, including a screwdriver, cable ties, and thermal paste.
- Reviewing the user manuals for all components to ensure correct installation.
- Checking compatibility between parts to avoid assembly issues.
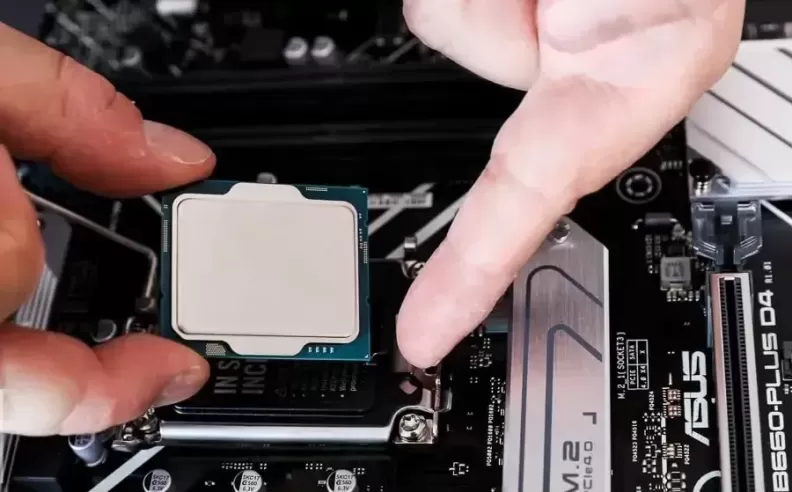
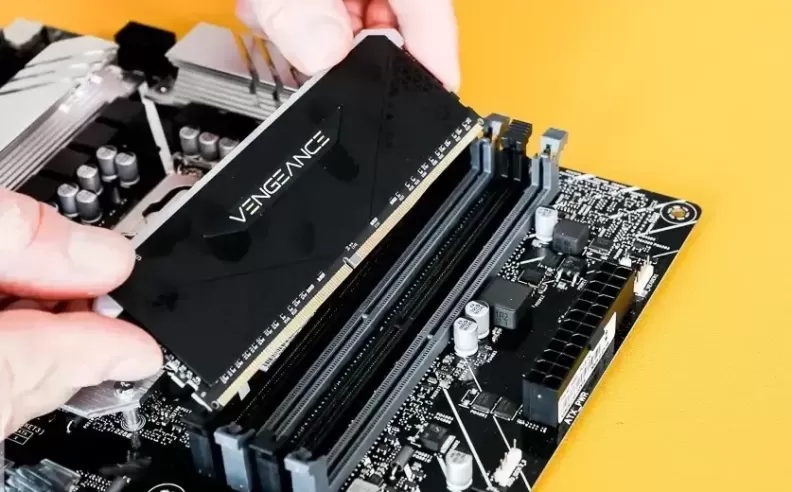
Installing the Processor and RAM
Proper installation of the CPU and RAM is critical for system stability:
- Installing the CPU:
- Carefully lift the CPU socket latch on the motherboard.
- Align the CPU correctly and place it gently into the socket without force.
- Secure the latch to ensure proper contact.
- Installing the RAM:
- Identify the correct RAM slots on the motherboard.
- Insert the RAM modules firmly until a click sound confirms they are locked in place.
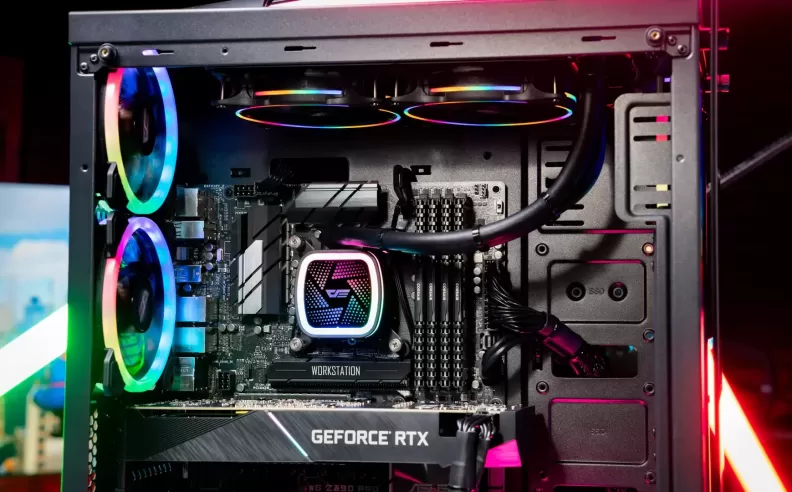
Mounting Storage and Graphics Card
Properly securing storage drives and the GPU ensures optimal performance and longevity:
- Storage Installation:
- Insert SSDs into M.2 slots or connect HDDs using SATA cables.
- Ensure secure power connections for seamless operation.
- Graphics Card Installation:
- Insert the GPU into the PCIe slot on the motherboard.
- Secure the card with screws and connect power cables if required.
First Boot and System Testing
After assembling the PC, a few checks are necessary to confirm proper functionality:
- Connecting power and peripherals before turning the system on.
- Booting into BIOS to verify hardware recognition.
- Installing an operating system and drivers to optimize performance.
Building a custom PC may seem complex at first, but following the right steps makes the process seamless. With careful planning and component selection, anyone can assemble a high-performance computer that suits their specific needs.

Started my career in Automotive Journalism in 2015. Even though I'm a pharmacist, hanging around cars all the time has created a passion for the automotive industry since day 1.


 SHARE
SHARE